Why does it say “No ChatGPT tab found”?
Open chatgpt.com in Chrome, sign in, and leave the tab open. Return to the extension panel and run the queue again.
 Google Automator
Documentation
Follow the queue workflow below, then use the FAQ for messages shown by the extension.
Use one blank line between simple prompts. For multi-line prompts, place @@@NEXT@@@ between queue items.
A cinematic portrait in warm window light.

A product photo on a clean studio background.prompt
"A fox, wearing a red scarf, in snow"
"A glass spaceship above a neon city"Add a reference image in the prompt queue when you want visual consistency. Confirm the thumbnail is attached to the intended queue item before running. Reference media stays in browser storage until used or removed.
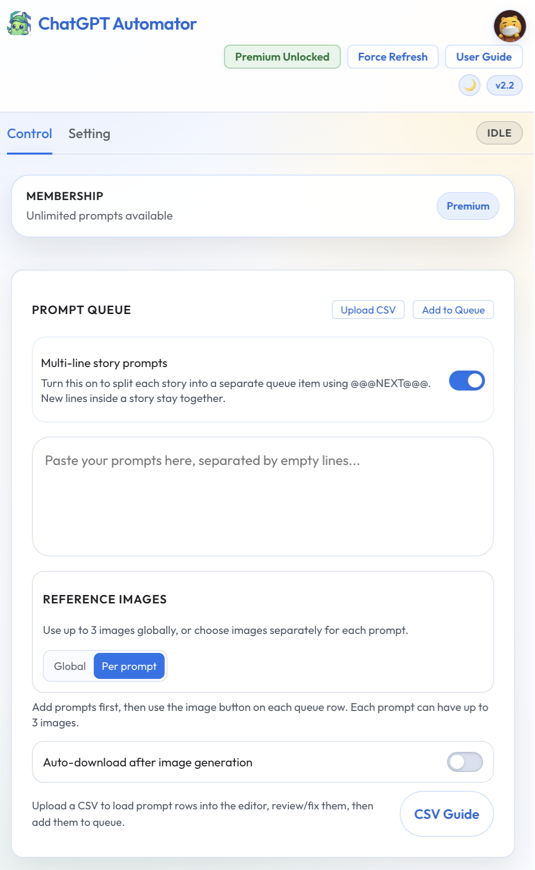
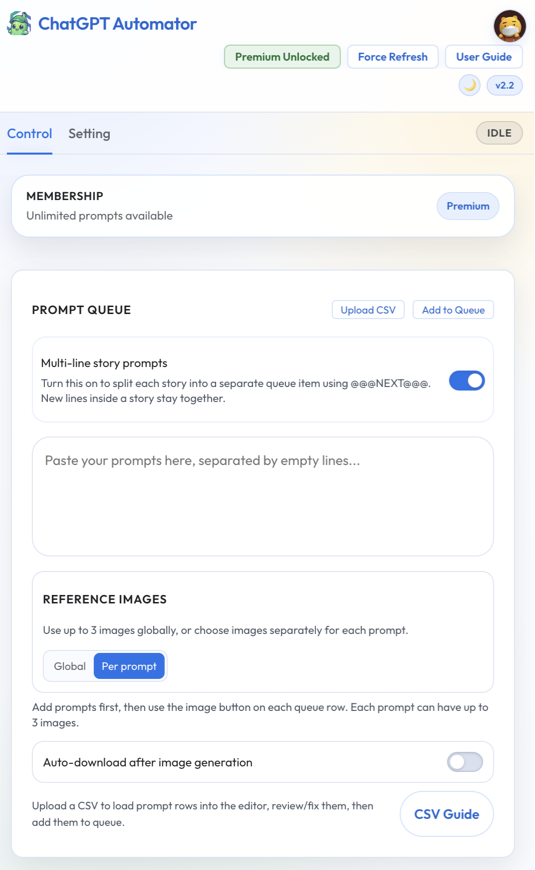
Starter includes the daily prompt allowance displayed in the extension. Premium unlocks unlimited automation and advanced options. The panel is the source of truth for the current allowance and reset time.
Read the ChatGPT Automator Privacy Policy. For support, include the message shown in the panel and the step that produced it.
Open chatgpt.com in Chrome, sign in, and leave the tab open. Return to the extension panel and run the queue again.
Confirm both ChatGPT and the extension account are signed in. Reopen the panel and retry. If the page session expired, refresh chatgpt.com first.
The app stops waiting after the generation window expires. Check whether ChatGPT finished or displayed a limit message, then rerun only the unfinished item.
ChatGPT has reached its own image-generation allowance. Wait until ChatGPT resets the limit or use an account/plan with available image creation, then resume the remaining items.
ChatGPT temporarily rejected rapid requests. Leave the target tab open and let the built-in delay finish; avoid submitting prompts manually at the same time.
Make sure the reference thumbnail appears on the queue item. Re-add the file if it is missing, keep the ChatGPT tab active, and retry after the page has fully loaded.
Keep Chrome open and check its Downloads page for a blocked or interrupted file. Retry the affected item or download after generation completes.
The account has used the daily allowance shown in the panel. Wait for the displayed reset time or upgrade; reinstalling does not reset account usage.